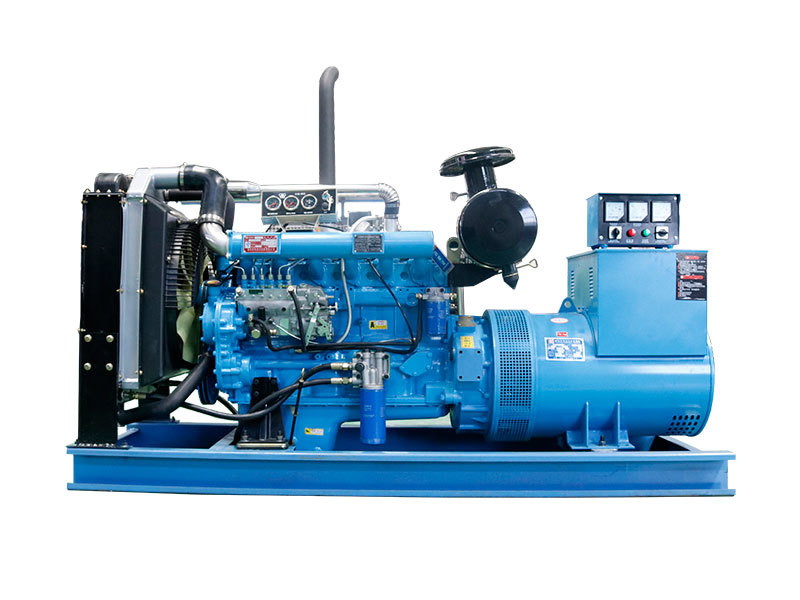
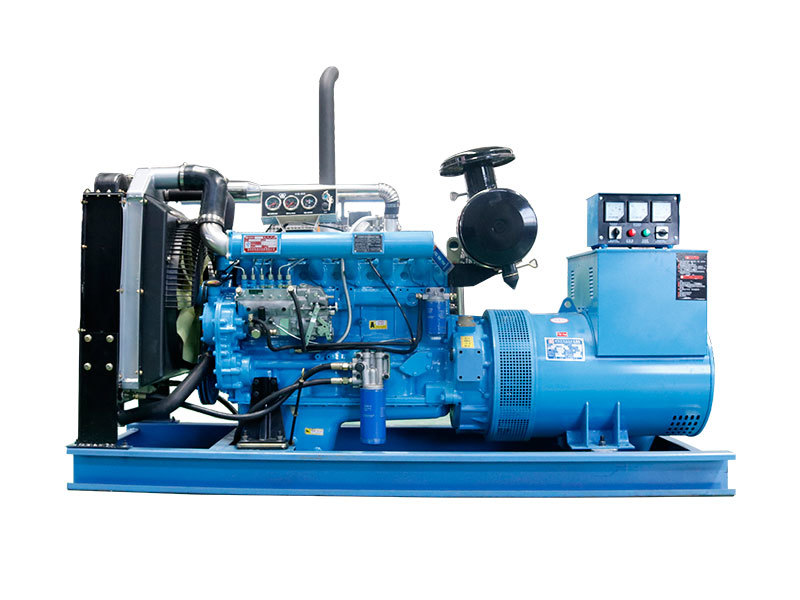
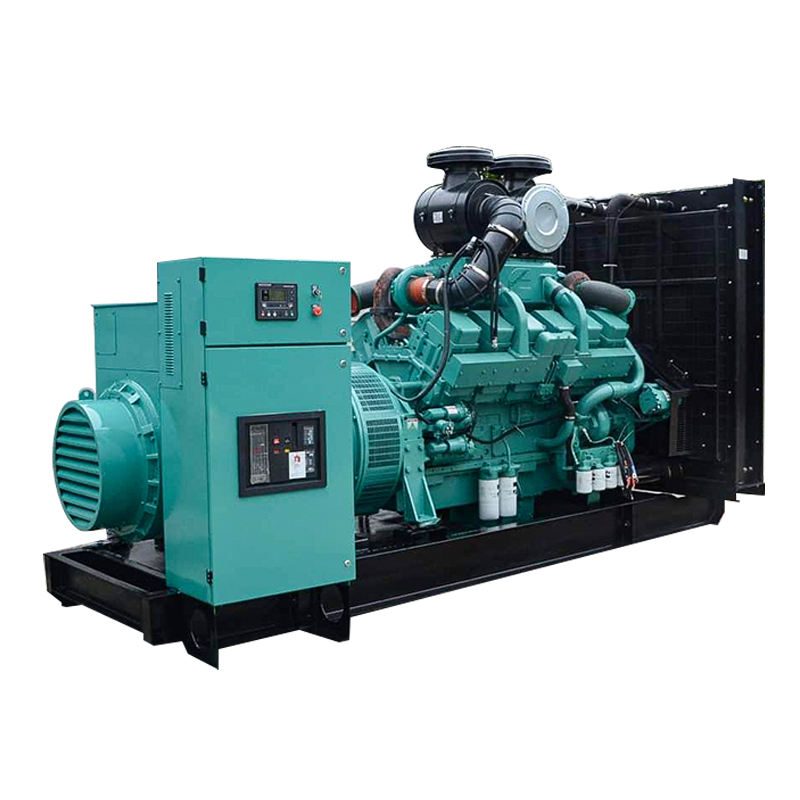
Oil leaks in generators, frankly speaking, are more than just a messy nuisance; they represent a significant threat to the efficiency, lifespan, and even safe operation of these crucial machines. Generators, whether used for backup power at home, primary power on job sites, or critical operations in hospitals and data centers, rely on a precisely contained oil system for lubrication and cooling. When this system is compromised by leaks, the consequences can range from decreased performance and increased fuel consumption to catastrophic engine failure and environmental hazards. Understanding the causes of oil leaks, implementing effective prevention strategies, and knowing how to properly repair them is therefore paramount for anyone who depends on a generator for reliable power. This article aims to provide a comprehensive guide to navigating the complexities of oil leaks in generators, empowering you with the knowledge to keep your generator running smoothly and efficiently for years to come.
Understanding the Root Causes of Oil Leaks in Generators
To effectively prevent and repair oil leaks, it's crucial to first understand the common culprits behind them. In my experience, many oil leaks stem from simple wear and tear on seals and gaskets. These components, designed to create airtight and watertight barriers, are constantly exposed to heat, pressure, and vibrations during generator operation. Over time, this relentless stress can cause them to degrade, crack, or lose their elasticity, leading to pathways for oil to escape. Another frequent cause is improper maintenance. Neglecting regular oil changes, using the wrong type of oil, or overfilling the oil reservoir can all contribute to increased pressure within the system, stressing seals and gaskets and making leaks more likely. Furthermore, physical damage to the generator's housing or oil lines, perhaps from impact during transport or mishandling, can create cracks or punctures that directly lead to oil leaks. It's also worth noting that environmental factors, such as extreme temperatures or prolonged exposure to harsh weather conditions, can accelerate the deterioration of rubber and plastic components, making them more susceptible to leaks. By recognizing these common causes, we can begin to implement targeted prevention strategies and address leaks more effectively when they occur.
Proactive Prevention: The First Line of Defense Against Oil Leaks
Prevention, as they say, is always better than cure, and this holds especially true when it comes to oil leaks in generators. A proactive approach to maintenance and care can significantly reduce the likelihood of leaks developing in the first place. Regularly scheduled maintenance is arguably the most important preventative measure. This includes adhering to the manufacturer's recommended oil change intervals, using the correct type and viscosity of oil, and inspecting oil levels frequently. During these inspections, it's also wise to visually examine all accessible seals, gaskets, and oil lines for any signs of wear, cracks, or damage. Proper installation of the generator is also crucial. Ensuring the generator is placed on a level, stable surface minimizes vibrations that can stress components and contribute to leaks. Furthermore, protecting the generator from harsh weather conditions, such as direct sunlight, rain, and extreme temperatures, can prolong the life of seals and hoses. Using high-quality replacement parts when performing maintenance or repairs is another key aspect of prevention. Cheaper, inferior parts may not meet the same standards of durability and resilience as original equipment manufacturer (OEM) components, potentially leading to premature failure and leaks. By consistently implementing these preventative measures, you can create a robust defense against oil leaks and ensure the long-term reliability of your generator.
Early Detection: Spotting the Subtle Signs of Oil Leaks
Even with the most diligent prevention efforts, oil leaks can sometimes still occur. Therefore, early detection is crucial to minimizing damage and facilitating timely repairs. One of the most straightforward methods of detection is regular visual inspection. Periodically check the area around and beneath the generator for any signs of oil puddling or staining. Pay close attention to the seams and joints of the engine, the base of the generator, and any areas where oil lines are connected. Look for dampness or a sheen of oil, even if it's not a significant puddle yet. Beyond visual cues, there are also performance indicators that can suggest an oil leak. A noticeable drop in oil pressure, as indicated by the generator's gauges or warning lights, is a strong sign of a leak. Similarly, if you find yourself needing to add oil more frequently than usual to maintain the correct level, it's highly likely that oil is escaping somewhere. Unusual noises, such as a whining or rattling sound from the engine, can sometimes be associated with low oil levels caused by a leak. Finally, an unmistakable burning oil smell emanating from the generator while it's running is a clear indication that oil is leaking and coming into contact with hot engine components. By being vigilant and attentive to these visual and performance indicators, you can often detect oil leaks in their early stages, allowing for prompt intervention and preventing more serious problems.
Step-by-Step Guide to Repairing Minor Oil Leaks
For minor oil leaks, often identified early, a do-it-yourself (DIY) repair might be feasible, especially if you possess some mechanical aptitude. However, it's crucial to prioritize safety and proceed with caution. Always begin by disconnecting the generator from the power source and allowing the engine to cool down completely. Next, thoroughly clean the area around the suspected leak to better identify the source and prevent contaminants from entering the system during repair. Once cleaned, carefully inspect the area to pinpoint the exact location of the leak. Is it a loose fitting, a cracked hose, or a deteriorated gasket? For loose fittings, simply tightening them with a wrench might be sufficient to stop the leak. If the leak originates from a cracked or damaged hose, replacement is usually necessary. Ensure you use a hose of the correct type and size, and properly secure it with hose clamps. Gasket leaks can be slightly more complex. Depending on the location and severity, you might be able to temporarily seal a minor gasket leak with a sealant specifically designed for engine oil. However, for a more permanent fix, gasket replacement is often required. This typically involves disassembling the component where the gasket is located, carefully removing the old gasket, cleaning the mating surfaces, and installing a new gasket. When reassembling, ensure all components are tightened to the manufacturer's specified torque to prevent future leaks. After completing any repair, refill the oil to the correct level and run the generator to check if the leak is resolved. If the leak persists or if you are uncomfortable with any part of the repair process, it's always best to consult a qualified generator technician.
Choosing the Right Sealants and Gaskets for Generator Repairs
When repairing oil leaks, the selection of sealants and gaskets plays a critical role in the long-term success of the repair. Not all sealants and gaskets are created equal, and using the wrong type can lead to premature failure and recurring leaks. For oil leaks, it's essential to use sealants specifically formulated for engine oil and high-temperature applications. These sealants are designed to withstand prolonged exposure to oil, heat, and pressure without degrading or losing their sealing properties. Look for sealants that are labeled as oil-resistant or engine-grade. Similarly, when replacing gaskets, it's generally recommended to use OEM or high-quality aftermarket gaskets that meet or exceed the original manufacturer's specifications. These gaskets are typically made from materials that are specifically chosen for their durability, oil resistance, and ability to maintain a tight seal under the operating conditions of a generator engine. Avoid using generic gaskets or sealants that are not specifically designed for engine oil applications, as they may not provide a reliable long-term solution. When applying sealants, always follow the manufacturer's instructions carefully, paying attention to surface preparation, application thickness, and curing time. Proper surface preparation, such as cleaning and degreasing the mating surfaces, is crucial for ensuring good adhesion of the sealant. Using the correct type of sealant and high-quality gaskets, combined with proper application techniques, is essential for achieving a durable and leak-free repair.
When to Call a Professional: Recognizing the Limits of DIY Repair
While some minor oil leaks can be addressed with DIY repairs, it's important to recognize when a professional technician is needed. Attempting to fix complex leaks or repairs beyond your skill level can potentially cause further damage and lead to more costly repairs down the line. If the oil leak is significant, meaning a large amount of oil is escaping rapidly, it's best to seek professional help immediately. Similarly, if you are unable to easily identify the source of the leak, or if the leak appears to be coming from deep within the engine, professional diagnostics are necessary. Repairs that involve disassembling major engine components, such as the crankshaft or cylinder head, should always be entrusted to qualified technicians with specialized tools and expertise. If you've attempted a DIY repair and the leak persists, don't hesitate to call a professional. Continuing to run a generator with an unresolved oil leak can lead to engine damage and potentially void warranties. Furthermore, if you are uncomfortable working with machinery or dealing with engine oil, or if you simply lack the time or tools for a DIY repair, professional service is the most sensible option. A qualified generator technician can accurately diagnose the cause of the leak, perform the necessary repairs efficiently and effectively, and ensure your generator is operating safely and reliably. In many cases, the cost of professional repair is a worthwhile investment compared to the potential consequences of a botched DIY attempt or continued operation with an oil leak.
Long-Term Maintenance Strategies for Leak-Free Generator Operation
Maintaining a generator for long-term, leak-free operation is an ongoing process that extends beyond just addressing leaks when they occur. Implementing a comprehensive long-term maintenance strategy is key to preventing future leaks and ensuring the continued reliability of your generator. Regularly scheduled servicing, as recommended by the manufacturer, is the cornerstone of long-term maintenance. This includes oil and filter changes, air filter replacements, spark plug inspections, and overall engine tune-ups. During these service intervals, a thorough inspection of all seals, gaskets, hoses, and oil lines should be performed to identify any signs of wear or potential issues before they escalate into leaks. Pay attention to the generator's operating environment. Protecting it from extreme temperatures, moisture, and dust can significantly extend the lifespan of seals and hoses and reduce the risk of leaks. Consider using a generator enclosure or shelter to provide protection from the elements. Regularly cleaning the generator, especially around the engine and oil system components, can help prevent the buildup of dirt and debris that can accelerate wear and tear. Finally, keep a detailed maintenance log, recording all service dates, parts replaced, and any repairs performed. This log will serve as a valuable resource for tracking maintenance schedules, identifying recurring issues, and ensuring that preventative maintenance is performed consistently. By adopting these long-term maintenance strategies, you can proactively minimize the risk of oil leaks and maximize the lifespan and reliability of your generator.
Conclusion: Ensuring Reliable Power Through Leak Prevention and Expert Repair
In conclusion, oil leaks in generators, while common, are not an inevitable part of generator ownership. By understanding the causes, implementing proactive prevention strategies, practicing early detection, and knowing when to attempt DIY repairs versus seeking professional assistance, you can effectively manage and minimize the occurrence of oil leaks. Regular maintenance, careful operation, and timely repairs are the cornerstones of a leak-free generator and ensure its continued reliable performance. Addressing oil leaks promptly not only prevents costly engine damage and environmental concerns but also contributes to the overall efficiency and longevity of your generator, providing peace of mind and dependable power when you need it most. At our company, we understand the critical importance of generator reliability, and we are committed to providing high-quality generators and comprehensive maintenance services to help you avoid the frustrations and disruptions caused by oil leaks and other generator issues. Our expert technicians are trained to diagnose and repair oil leaks efficiently and effectively, ensuring your generator operates at peak performance. We also offer preventative maintenance plans tailored to your specific generator model and usage patterns, helping you proactively minimize the risk of oil leaks and extend the life of your investment.
For more detailed information, please visit our official website: oil leaks


